
4 easy steps to exporting stems in Logic Pro X for Professional Online Mixing and Mastering Services.
- Go to the File.
- Choose Export.
- All tracks as audio files
- Select destination folder
Settings:
- Range: Trim Silence at File End
- Save Format: WAVE
- Bit Depth: 24 Bit
- Bypass Plugins: On
- Include Volume/Pan Automation: Off
- Normalize: Off
Before You Send Your Stems
A few quick checks save a lot of back and forth. Keep every stem at the same sample rate and bit depth as your session, usually 24-bit WAV, and leave a little headroom so nothing clips on the way out. Name each file clearly, for example Kick, Bass, LeadVocal and Reverb, so your engineer can rebuild the arrangement at a glance. Disable any master-bus limiter or heavy bus compression before you bounce, since loudness and glue are better shaped during mastering. And always export every stem from the very start of the session so the files line up perfectly when they are dropped back in.
After exporting your stems you can then upload your zip file here at Audiomixingmastering.com/upload for professional online mixing and mastering services for an affordable rate.
Listen to our before and after samples here at Audiomixingmastering.com/samples to hear the difference for yourself.
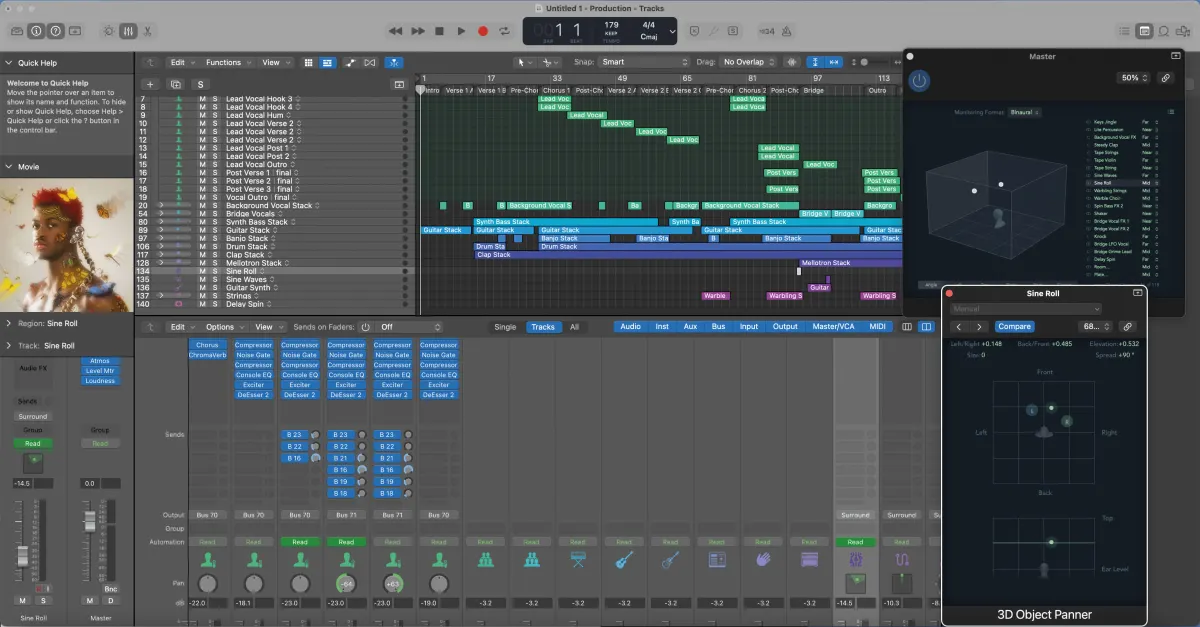
The Same Logic Everywhere
These bounce-in-place principles carry across DAWs, engineers moving between Logic and Pro Tools follow the same rule: every stem starts at bar one and ends after the last tail, so any session reassembles perfectly.