
8 easy steps to exporting stems in GarageBand for Professional Online Mixing and Mastering Services.
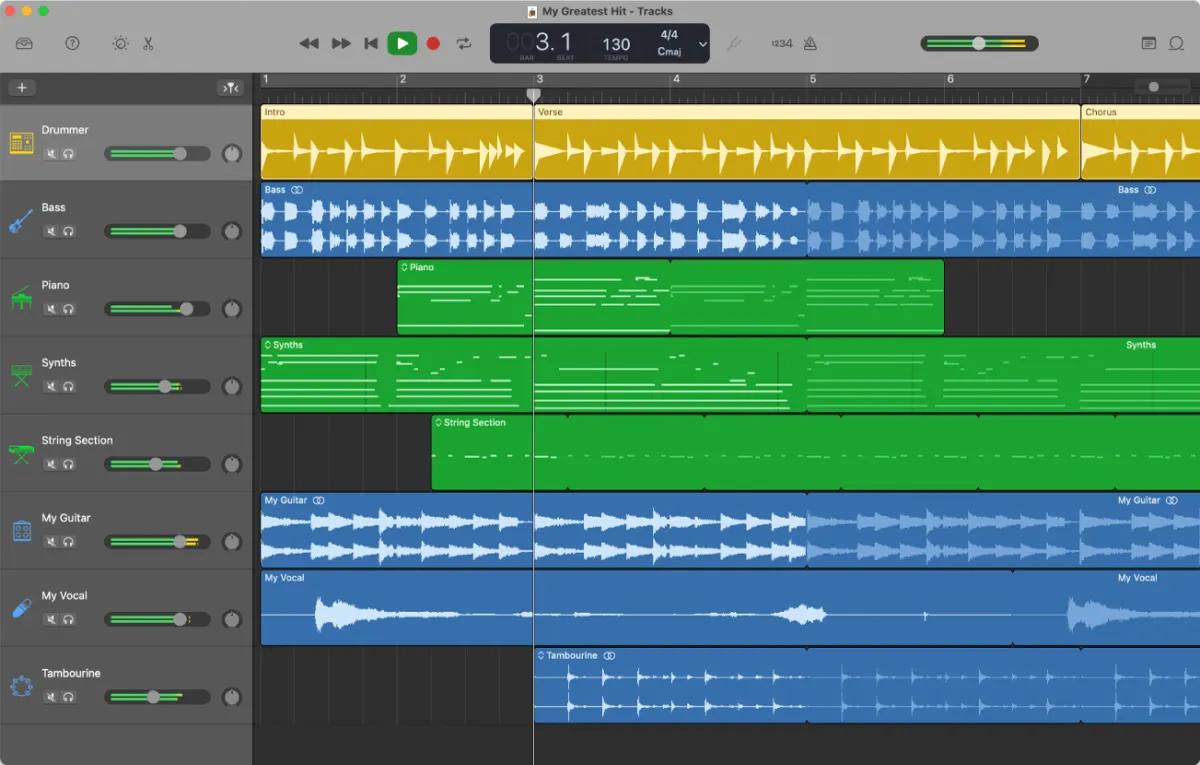
Since garage band isn’t quite advance as some of the DAW’s out there, we’re going to have to remove all the effects from our tracks for before exporting.
- Start with turning all volumes down to -6db
- Solo your first track at the top
- Remove all FX
- Click on Share in the menu above
- Export song to disk
- Select Wave
- Name your files
- Repeat this process with all the other tracks in your session
After exporting your stems you can then upload your zip file here at Audiomixingmastering.com/upload for professional online mixing and mastering services for an affordable rate.
Listen to our before and after samples here at Audiomixingmastering.com/samples to hear the difference for yourself.
GarageBand Is Enough
Don't let anyone tell you GarageBand stems aren't professional, mixing services work with clean audio, not brand names. Export at full quality, name each file by instrument, and your song is ready for a pro balance.
Before You Send Your Stems
Solo each track one at a time and export it across the full length of the song so every stem shares the same start and end. Turn off master bus effects before bouncing, since processing baked into individual stems limits what an engineer can do later. Keep a rough mix bounce alongside the stems so whoever mixes your track can hear the direction you were going for, which saves revisions and keeps the result close to your vision.